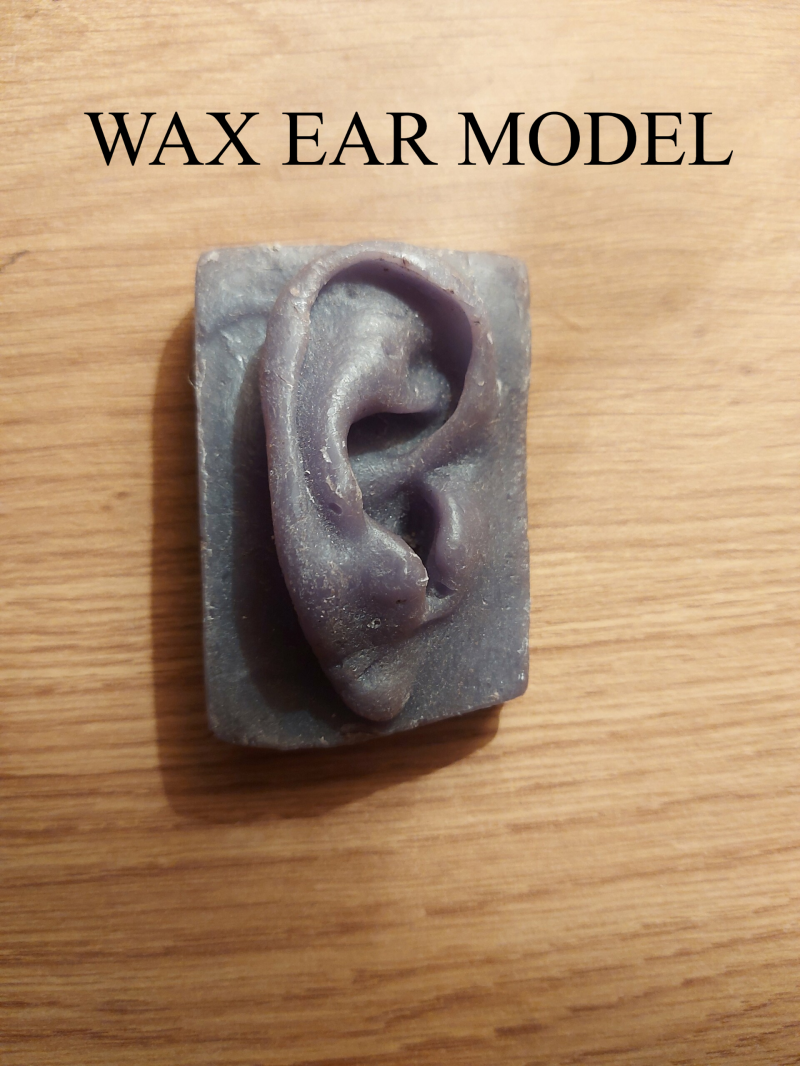
This is one of the first projects that I have completed since joining the Uni. it consisted of drawing and then sculpting an ear out of clay and was meant to be as true to the wax ear model as possible.
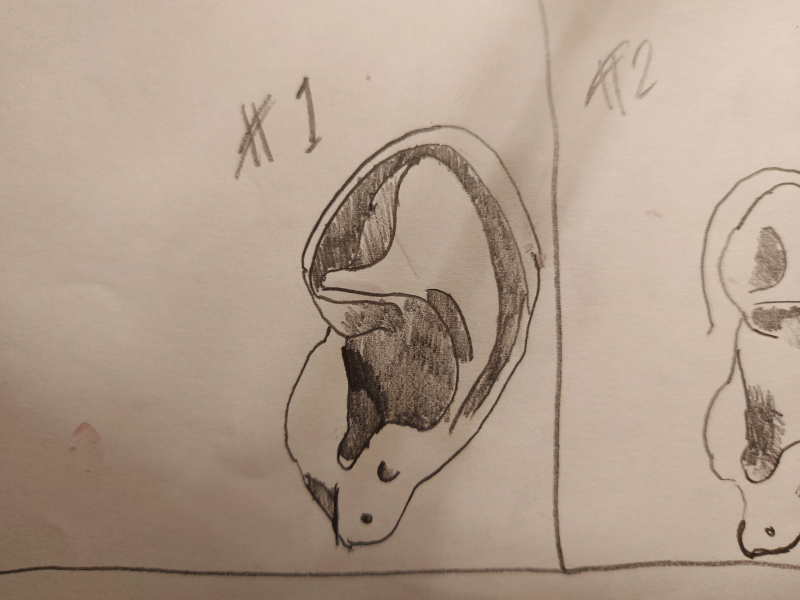
The initial drawings of the ear weren't too promising however baring in mind I've never drawn an ear before ill cut myself some slack. The supposed ear more closely represented a type of beef cut than an ear, this was mainly due to the odd colouring and the overly bold lines that I used, this was clear to me that it had to be adapted for the second version
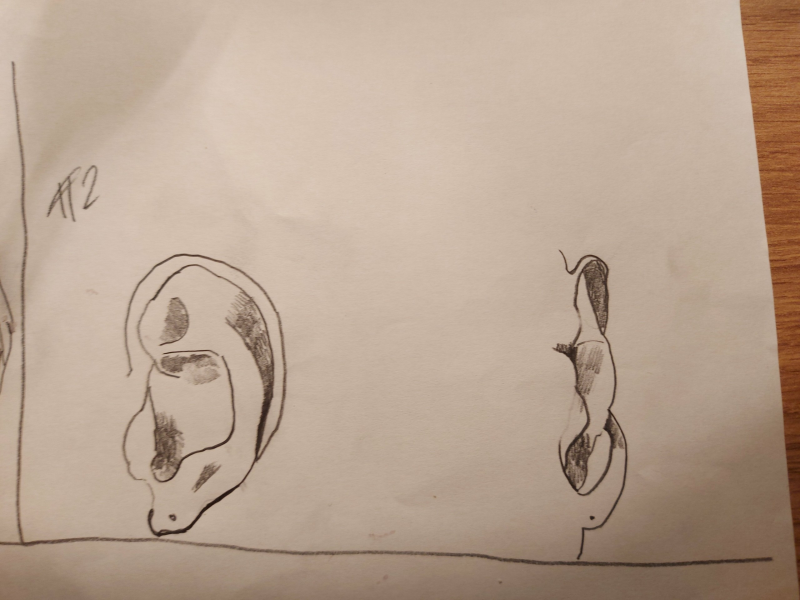
Ear drawing 2 took on some of the knowledge gained from ear one and made an image more resembling something from the human anatomy, this was positive progress at this point, the lines I used were also less strong and a bit more of a guidance to the edge of the wax model we based the drawings off of, this allowed for a clearer depiction of what I was trying to convey. I also added a front view of the ear the only issue is that this is a very hard angle to picture of an ear and therefore made working out whether it looked realistic or not difficult however I figured it was probably a good enough start.
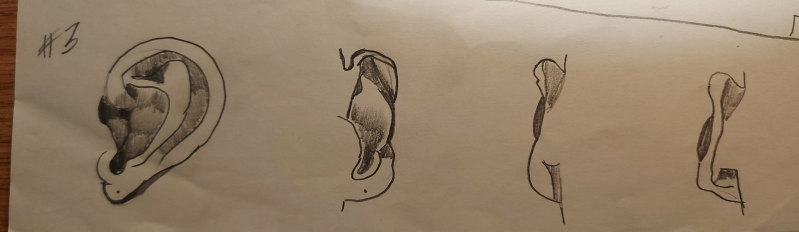
this is the third set of drawings I came up with showing again more angles of the ear, the first angle being the original view, the second angle being the front view, the third angle being the view from behind attempted 2 times for a supposed higher chance of success. Again in these views I have made sure that the main shape of the ear is clearer and more recognisable turning it towards a very definite ear an therefore not to be confused with anything else, this has helped the general progression of the ear drawings and also my ability to draw as it will give me something to focus on, there is then the matter of turning it from a generic ear into the specific and dimensionally accurate ear that I had presented beforehand. This was to be the focus of my next attempt to draw.
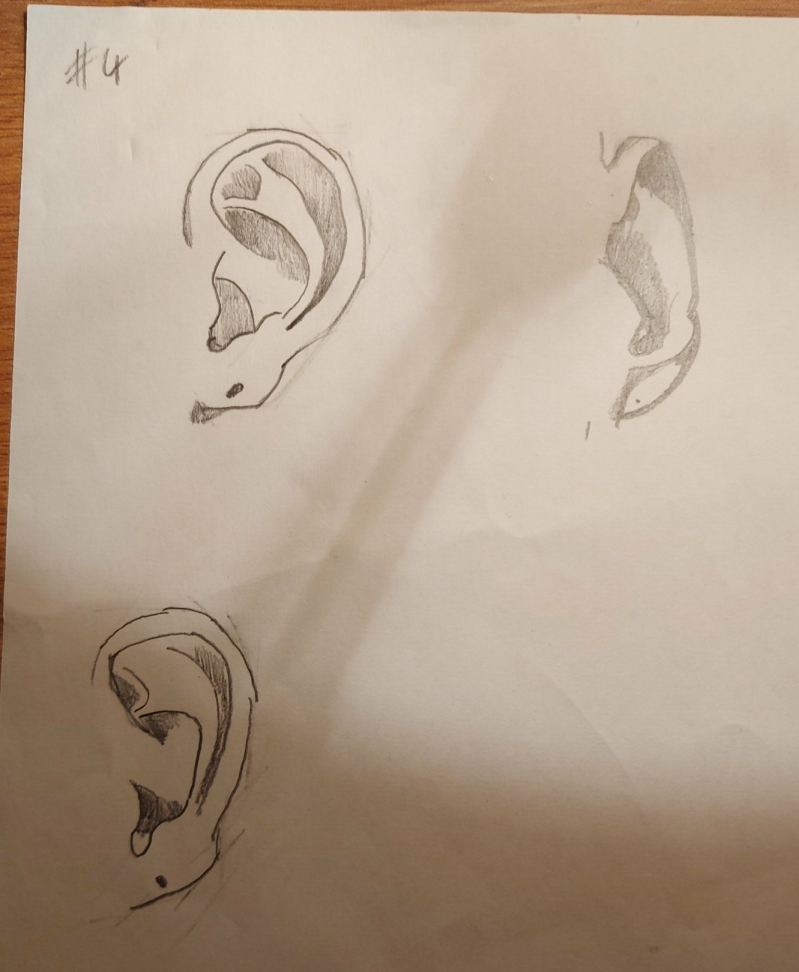
In the image above we are presented with the 4th attempt of ear drawing again I focused on getting the main shapes right and filling in the detail however this time I ensured that the main shape was also accurate to the wax ear model as shown above, this was more closely achieved this time around and therefore I was able to make an ear that looked like an ear and was pairable to the wax ear model, this was the right direction and was looking good for my drawing skills. I then attempted a front view ear as I have done before but this time applied the focusing on the main shapes and achieved the best looking front view ear I had achieved yet which was very good for my drawing ability progress.
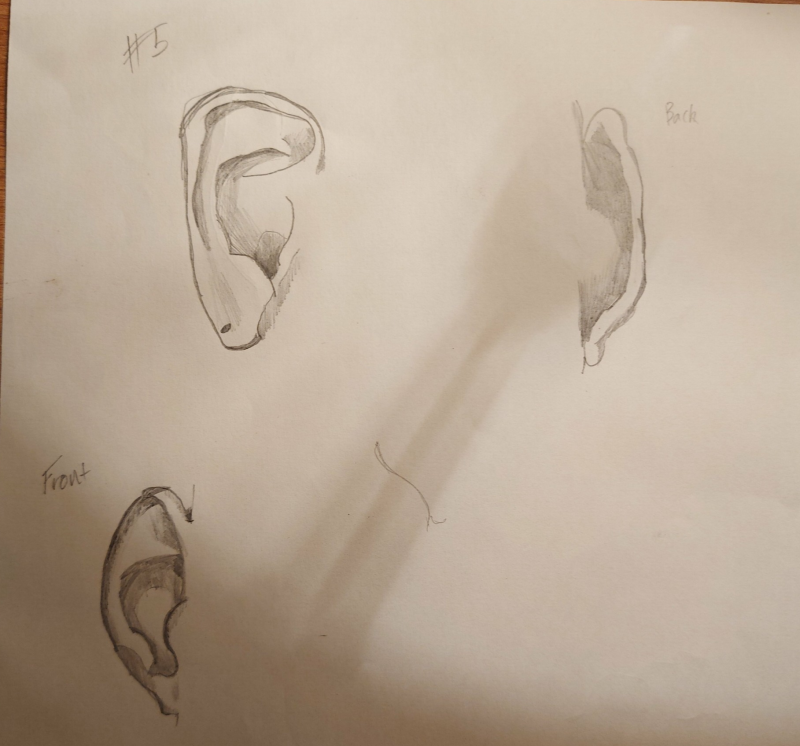
By attempt number 5 the pattern of constant improvement had fallen away slightly when it came to the original view however for the back and front view improvement on the last was obvious as there was far more detailed shading and the lines were bold in the right places, the outcome ensure the ear views were clear in what they were trying to communicate and they were noticeably ears as shown from different views which is the ultimate goal on a project like this.
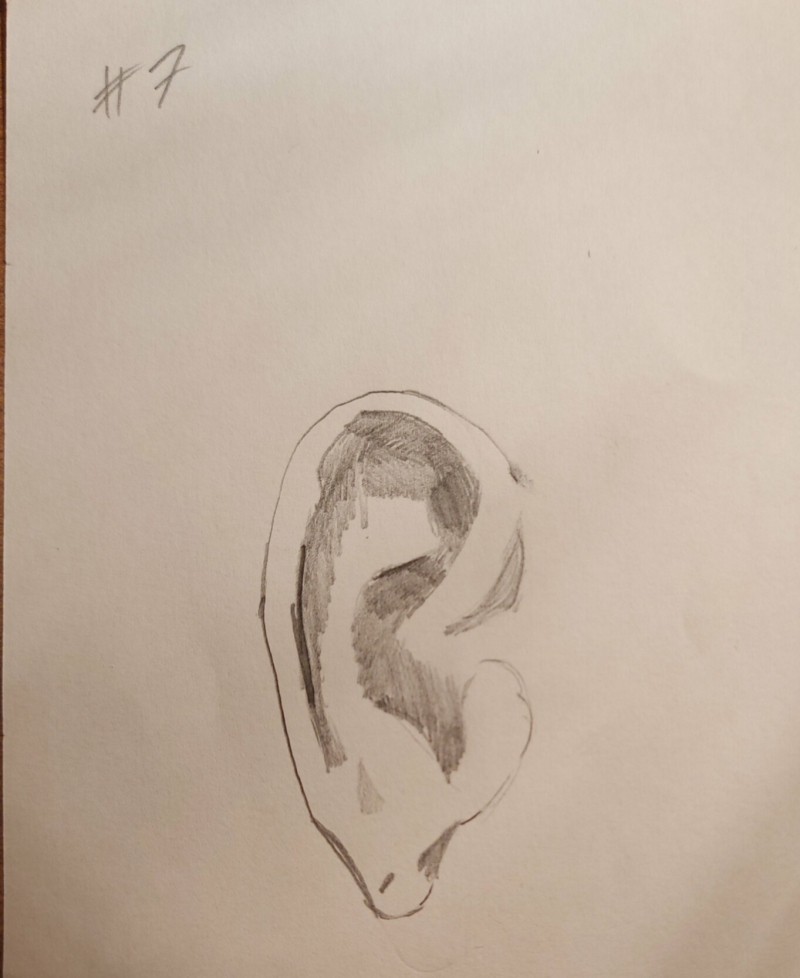

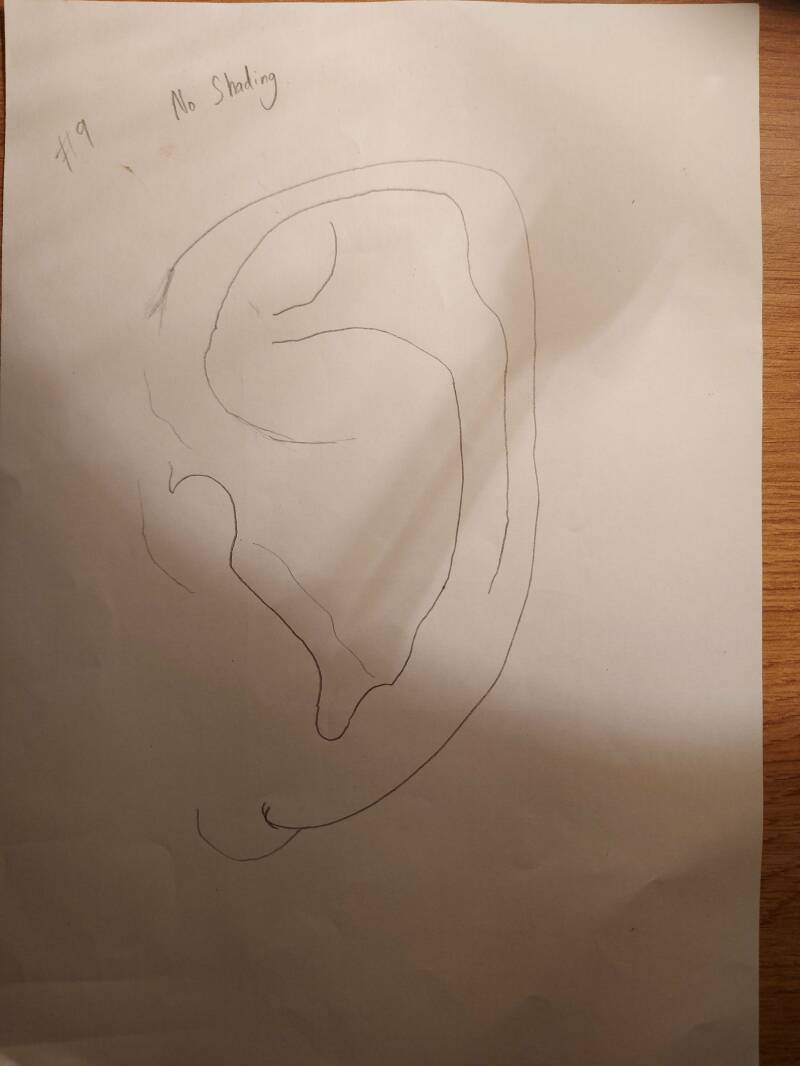
Here you can see attempt 7 through 9, these I grouped together as they weren't too far different from each other and for this part comparison is essential, attempt 7 is a third of the size of image 8 and 9 therefore the goal here was to deliver and identical replica but scaled up, this worked well as attempt 7 was an improvement on any of the previous attempts. Number 8 felt strong however shading accurately on that scale with just a pencil wasn't as easy as I so therefore going into 9 I aimed to get the shape right and not worry about the shading so much. 9 was also, if you hadn't noticed, the opposite ear to 8 however i felt that this didnt impact the quality and the transfer across to the other side felt seamless.
CLAY MODEL
The next goal after 5 attempts of a detailed ear drawing is that I would be able to turn these images into a 3 times scale version of the wax ear but made out of clay, this whilst difficult felt somehow more approachable as a first timer compared to drawing. So initially I had confidence....

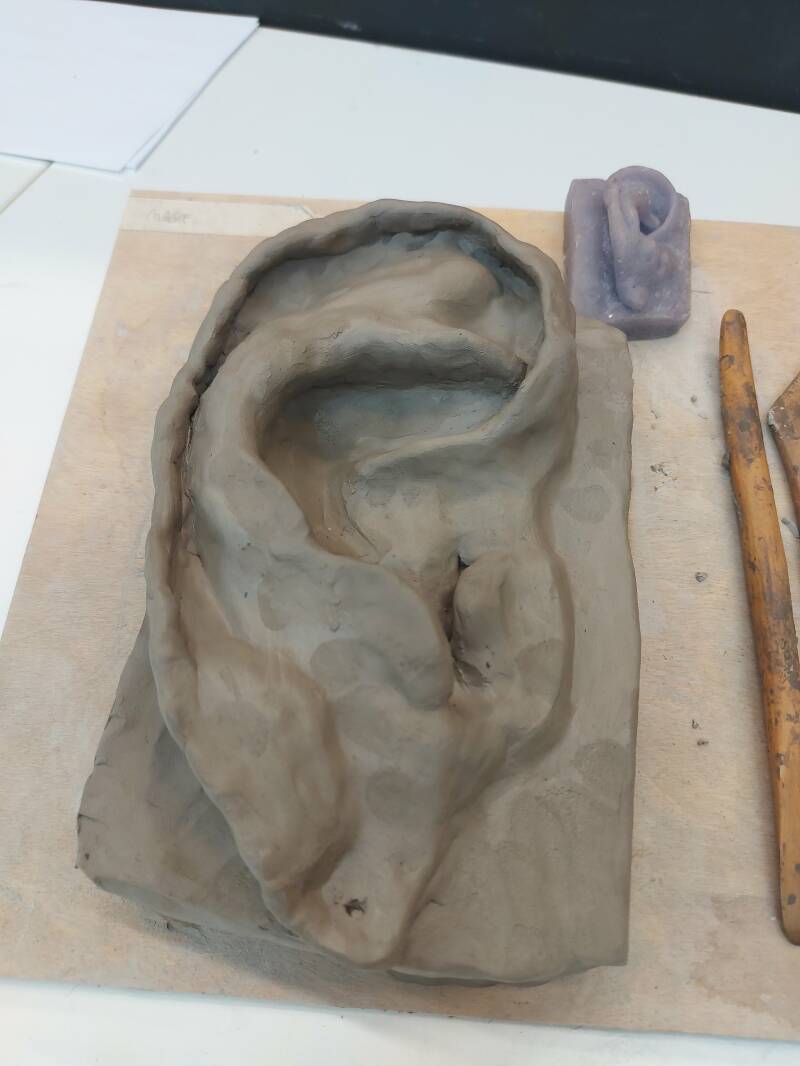
This confidence was almost entirely stomped out when I attempted to make a replica of ear number 8 and ended up with a slightly wobbly looking ashtray, this wasn't the start i was hoping for needless to say.

This is the finalised version of attempt 8 and this was as close as I got to a 3 times multiplication of the original ear from the wax model, what I focused on for this was smoothing it out and then ensuring that the shape was at least accurate and the scale was 3 times the original.
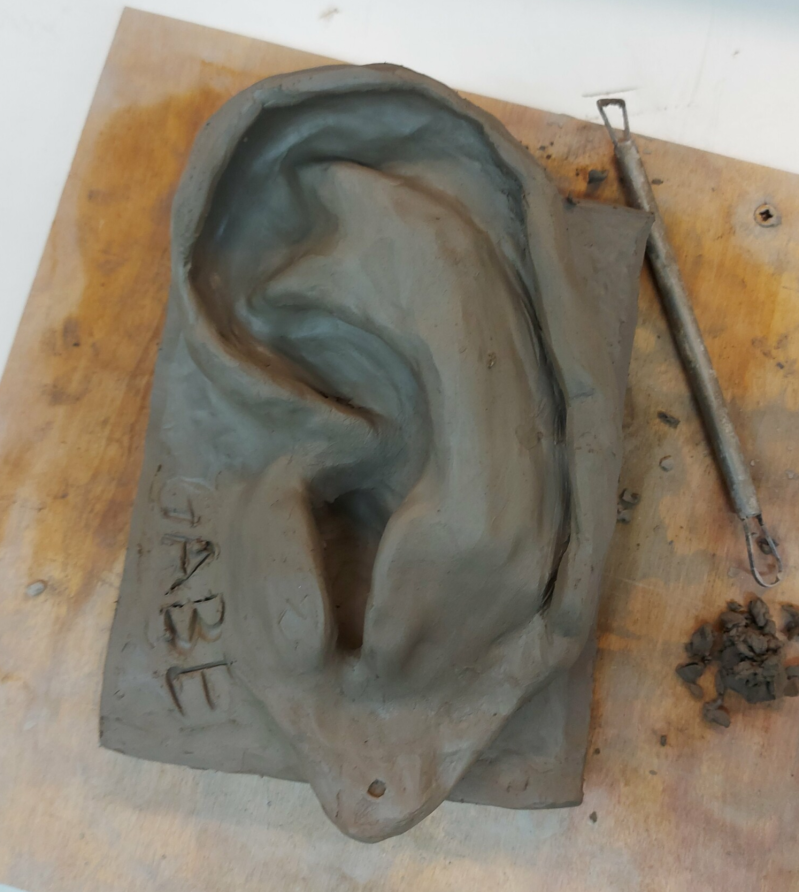
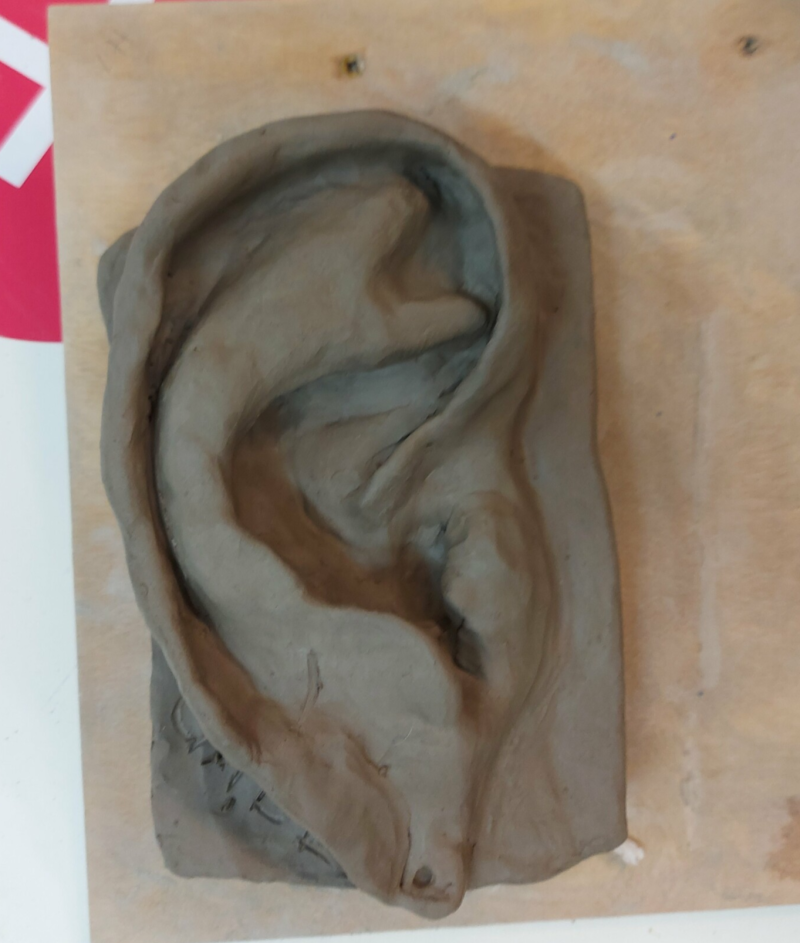
Again we had to flip it over and do the opposite ear which I used my drawing from attempt number 9 for mainly as this was a simple way of ensuring that the shape and scale were correct which I think I succeeded in. Due to this being a second attempt I was also able to make sure that the wobbly ash tray effect didn't come into fruition again and I believe that this one was textured far better than the first ear clay model attempt.
Create Your Own Website With Webador